Ever walked into a room where the air felt alive, wrapped in a warm embrace of soothing scents? That’s the magic of scented candles! And guess what? You can create that enchanting atmosphere right at home. Imagine whipping up your own personalized, aromatic masterpieces using essential oils. Sounds fun, right? Let’s dive into the fragrant world of candle making!
First off, let’s talk about the essentials—pun intended! You’ll need wax, wicks, and those dreamy essential oils. Now, before you rush to grab the nearest candle-making kit, take a moment to choose your wax wisely. Paraffin wax is popular, but if you’re eco-conscious, go for soy or beeswax. They burn cleaner and longer, plus they’re kind of a big deal in the sustainability world. Picture yourself cozying up with a candle that’s not just pretty but also kind to Mother Earth. Nice, huh?
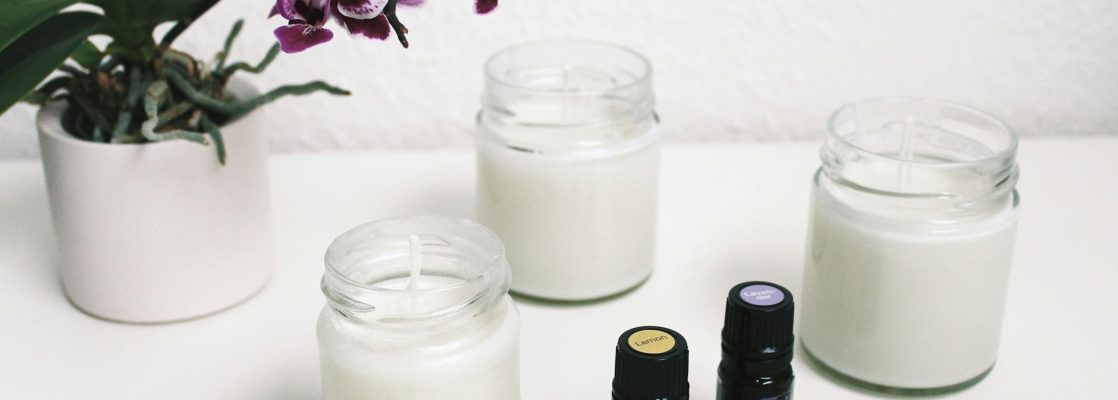
Now, here’s where things get really exciting. Mixing essential oils is like being a mad scientist in your own aromatic lab. You can blend lavender for relaxation, citrus for energy, or even eucalyptus for a refreshing vibe. The key is to play around! Start with a base note (like sandalwood) and then layer in some middle notes (think jasmine) and top notes (like lemon). You might want to keep a notebook handy to jot down those winning combinations—or you could just wing it and hope for the best, because let’s be real, what’s life without a little adventure?
Let’s break down the process, shall we?
- Gather Your Supplies: Wax, wicks, essential oils, a double boiler, thermometer, and containers.
- Melting the Wax: Heat the wax until it reaches about 170°F (77°C). Don’t rush this—give it time to melt evenly.
- Adding Essential Oils: Once your wax is melted, remove it from heat and allow it to cool to around 160°F (71°C) before adding your essential oils. This helps retain their scent potency.
- Pouring: Secure the wick in your container and pour the wax. Hold your breath as you watch the magic happen!
- Cooling Time: Let your candle cool completely, which can take a few hours. Patience is key—imagine the payoff!
Now, if you’re thinking, “Isn’t this a bit too complicated?” trust me, it’s not! Like the first pancake you make—always a little wonky—the first candle might not be perfect, but that’s the beauty of the journey. Each attempt teaches you something new. Maybe you’ll find you love a stronger scent or prefer a unique container. Who knows? One day you might end up crafting candles that not only smell amazing but also reflect your personality.
As you wrap up your candle crafting session, don’t forget to enjoy the process. Light one of your creations and let the aroma fill your space. Take a moment to breathe it in and appreciate your handiwork. It’s more than just a candle; it’s a piece of you, a little bubble of joy in a sometimes chaotic world. And remember, if it doesn’t turn out the way you hoped, just call it “abstract art.”
Next time you light your homemade candle, let that scent transport you to a place of calm or energy. Because at the end of the day, it’s not just about making something pretty; it’s about creating an experience. So go ahead, unleash your inner candle artist, and who knows? You might just start a new favorite hobby!